Global Edge Documentation

1.2 - Create Database / Load Data
Below are the procedures for creating the “LDC Database” and loading foundational setup data.
1.2.01 - Create LDC Database
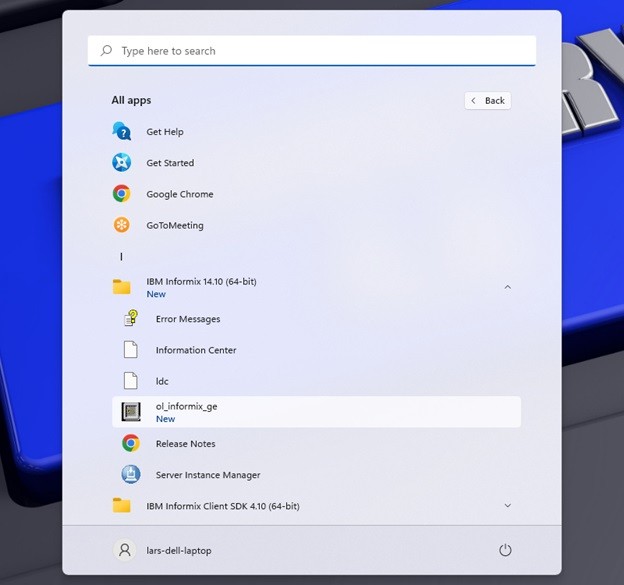
Step 1: The first step is to open the Informix Database that was installed in the previous section. Click on the “ol_informix_ge” followed by pinning it the Windows Taskbar:

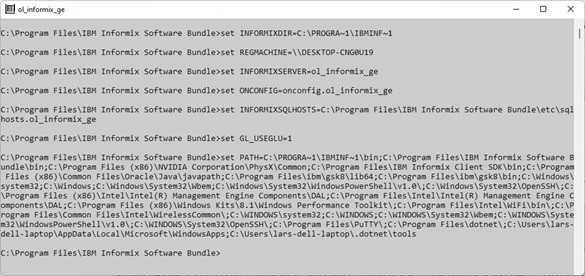
Step 2: When clicking on the “ol_informix_ge” icon, the following window is displayed:
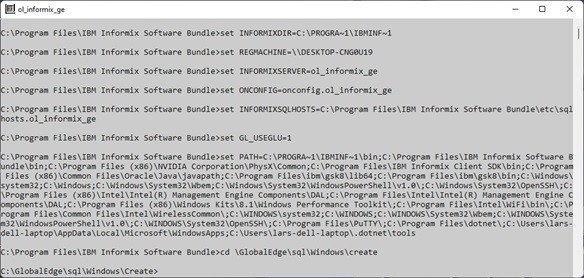
Step 3: Enter the command “cd \GlobalEdge\sql\Windows\create” to change to the following folder:
Step 4: Enter the command “dbaccess”:

Step 5: This will display the following screen form and menu options:

Step 6: The first step is to create the “LDC Database” by selecting the “Database > Create” and enter “ldc” as the database name:

Step 7: This will display the following CREATE DATABASE menu:

Step 8: The next step is to select the “Dbspace” option which will display the following, then select the “datadbs” option:
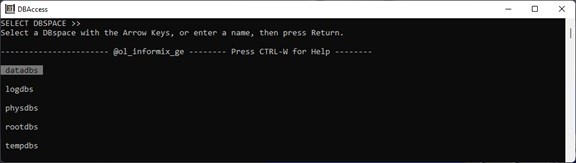
Step 9: The next step is to select the “Log” option:

Step 10: Select the “Log” option to select “Unbuffered transaction logging” option:

Step 11: The next step is to select the “NLSCASE SENSITIVITY” option which will display the following, then select the “Case-sensitive” option:

Step 12: Select the “Exit > Create-new-database” option to create the “ldc” database:

1.2.02 - Load Default Data
This section is to the database tables and load default data into the LDC Database.
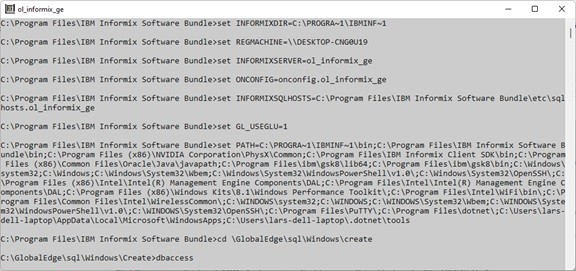
Step 1: Enter the command “dbaccess” followed by “cd \GlobalEdge\sql\Windows\create” to change to the following folder:
Step 1: Enter the command “dbaccess” followed by “cd \GlobalEdge\sql\Windows\create” to change to the following folder:
Step 2: This will display the following screen form and menu options:

Step 3: Select “Query-language” option and select the “ldc@ol_informix_ge” database:

Step 4: This will display the SQL menu and following menu options:

Select 5: Select the “Choose” option and select the “dbcreate” file:

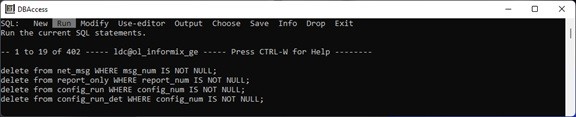
Step 6: Select the “Run” option to execute the SQL file that creates the Global Edge database tables:

Step 7: Exit the DBACCESS program and enter “cd \GlobalEdge\sql\Windows\Rebuild” to change to the following folder:

Step 8: Enter the command “dbaccess” which will display the following screen form and menu options:

Step 9: Select “Query-language” option and select the “ldc@ol_informix_ge” database:

Step 10: Select “Choose” option and select the “000-DEM-Complete-Rebuild” file:

Step 11: Select “Run” option to load setup and standard information in to the LDC Database: